In this lab we are going to introduce the Python programming language that we are going to use to program our Raspberry Pi projects.
Raspberry Pi
The Raspberry Pi (RPi) is a credit card-sized computer that is relatively low cost, and has been used for a wide variety of projects. Many people have used RPis to be their media centre, and nearly as many have developed game consoles, which run emulators of old gaming systems and arcade machines (e.g. Sega Genesis, Atari 2600, Nintendo 64). There are many other projects.
The RPi runs a Linux distribution called Raspberry Pi OS. Raspberry Pi OS is a scaled down version of Debian Linux, built for the ARM architecture and including some useful packages. In most cases the operating system (OS) is loaded from the microSD card, but in the lab we load the OS over the network.
Python programming language
Python is a simple to learn yet powerful programming language that was conceived in the late 1980s and nowadays is a widely used programming language backed with a huge community. There are hundreds of modules that can be used for free for almost anything you might need to do. And YES, you can write and run python in the Raspberry Pi, and there are modules that allow us to interact with the GPIO ports, the camera, etc.
Hardware Setup
To get started, obtain a Raspberry Pi kit. The contents of the RPi kit include an RPi, a multimeter, and various wires and components.
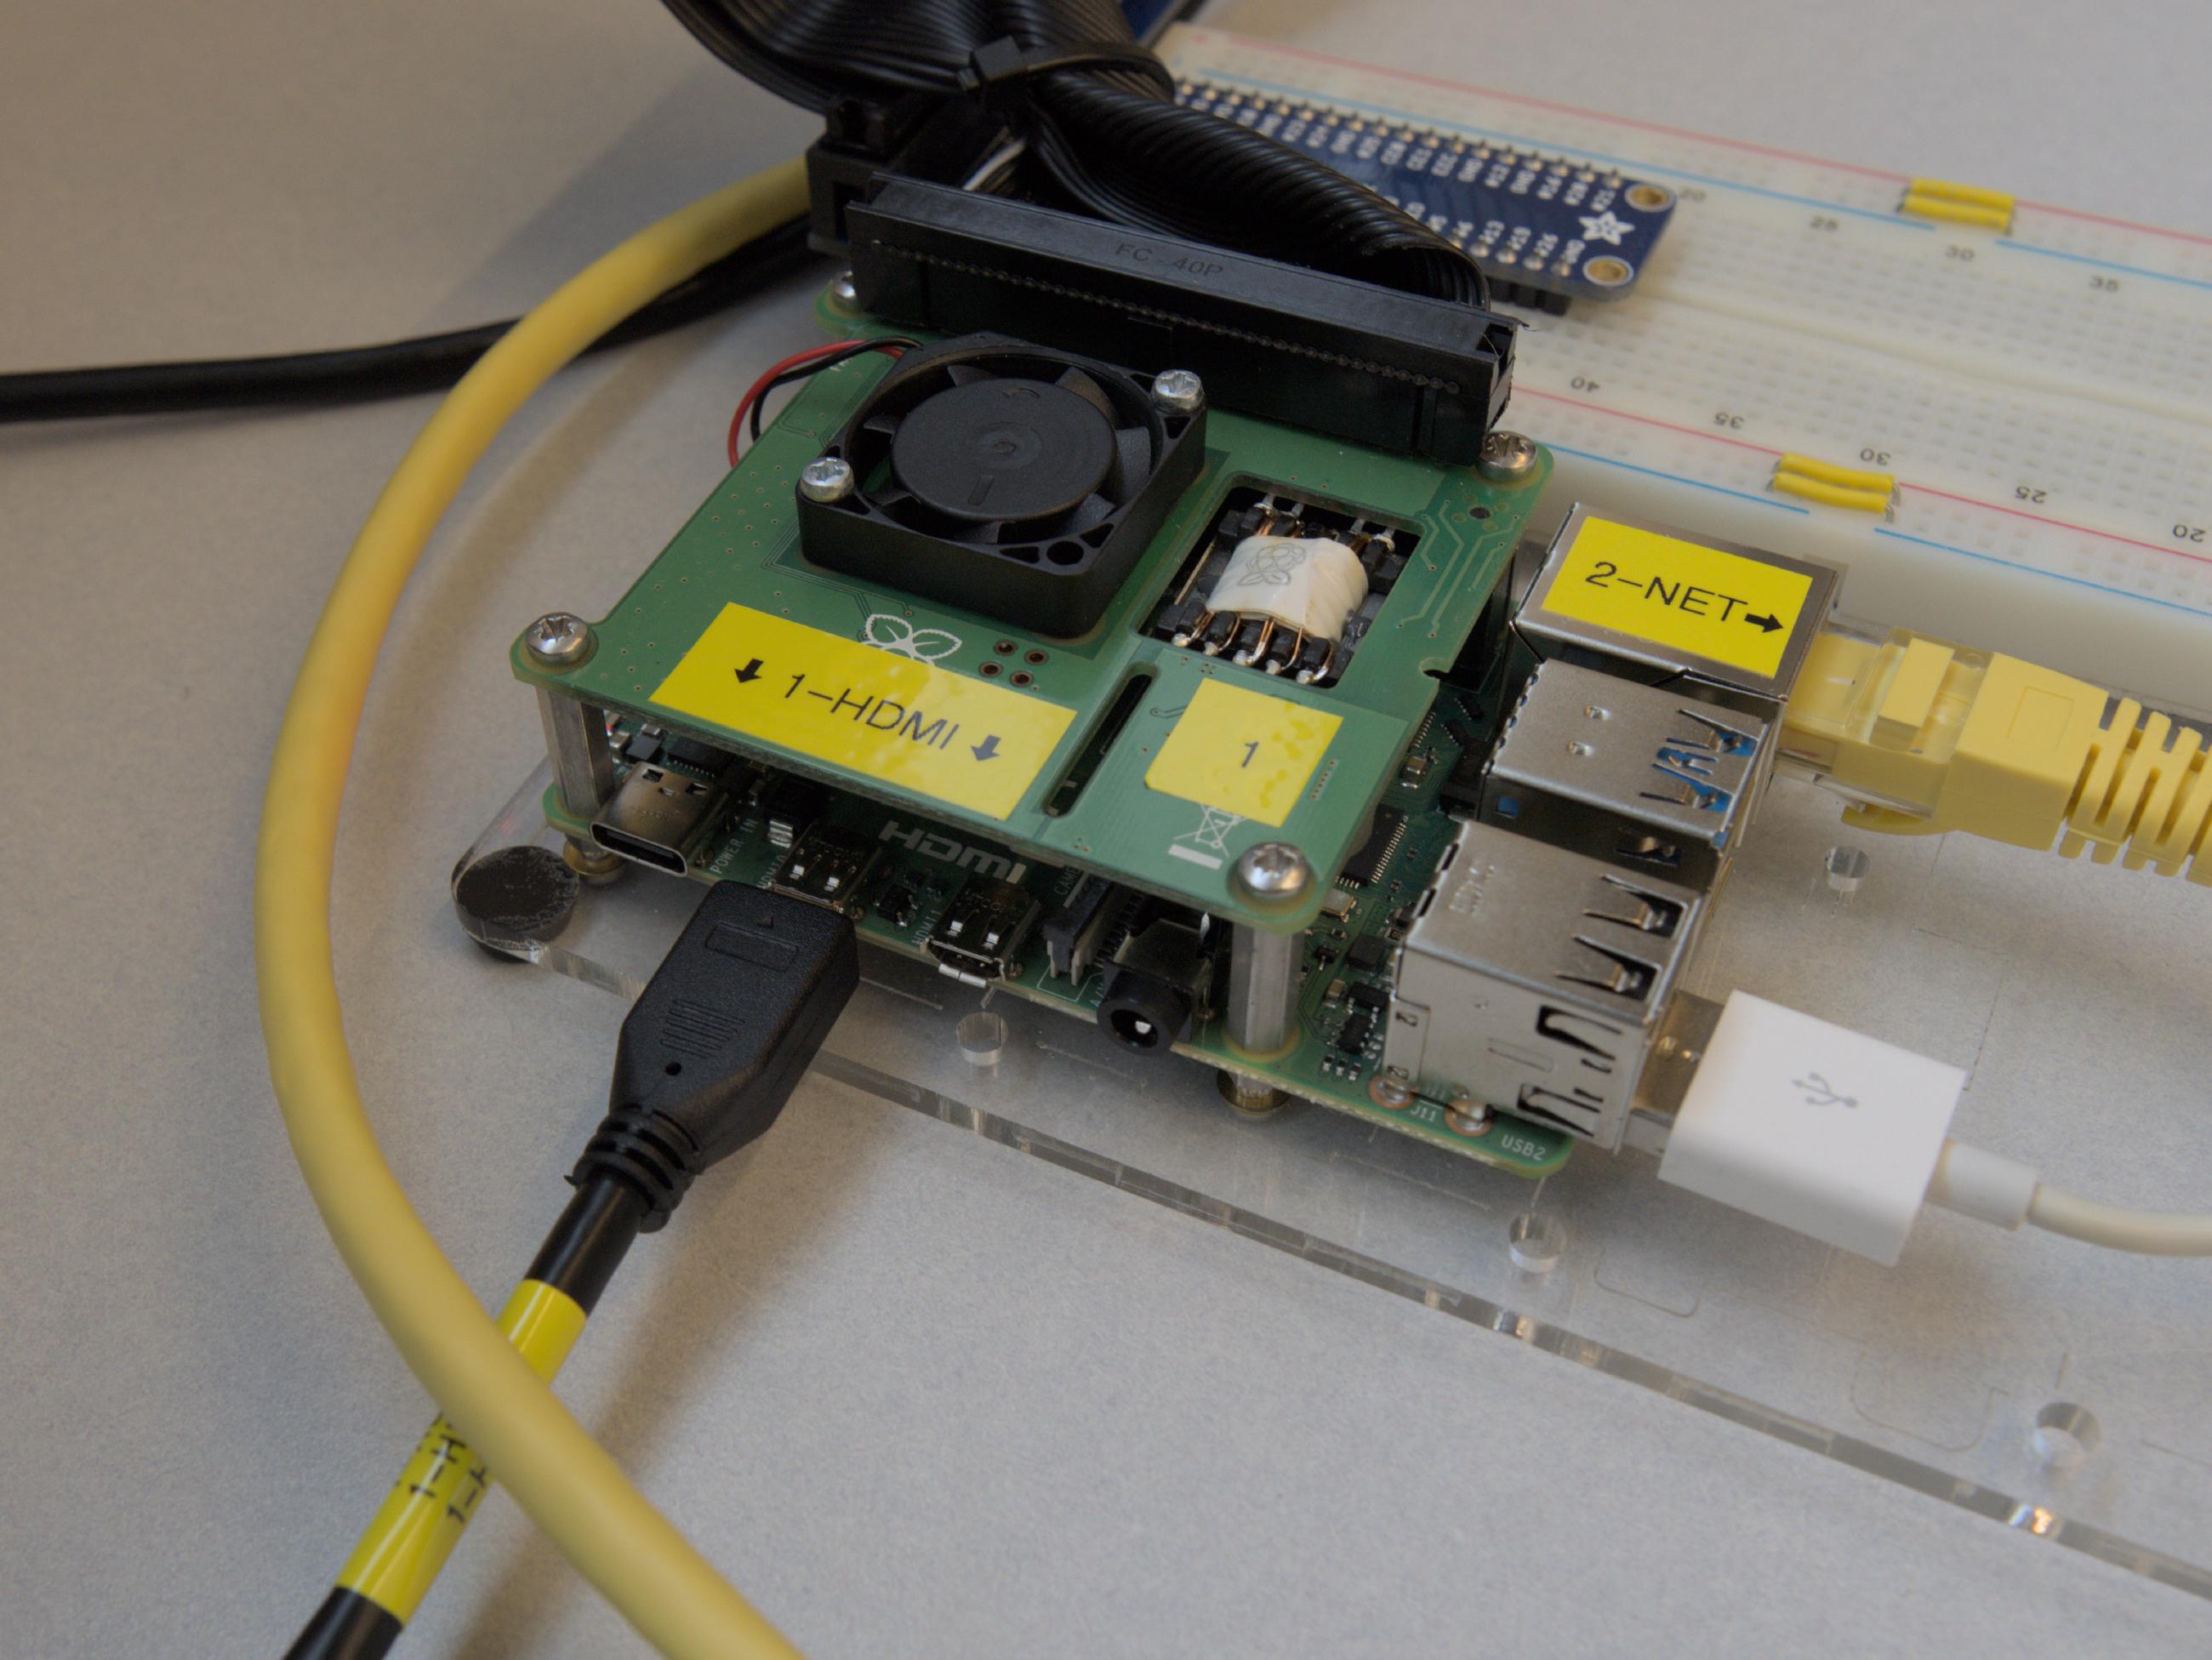
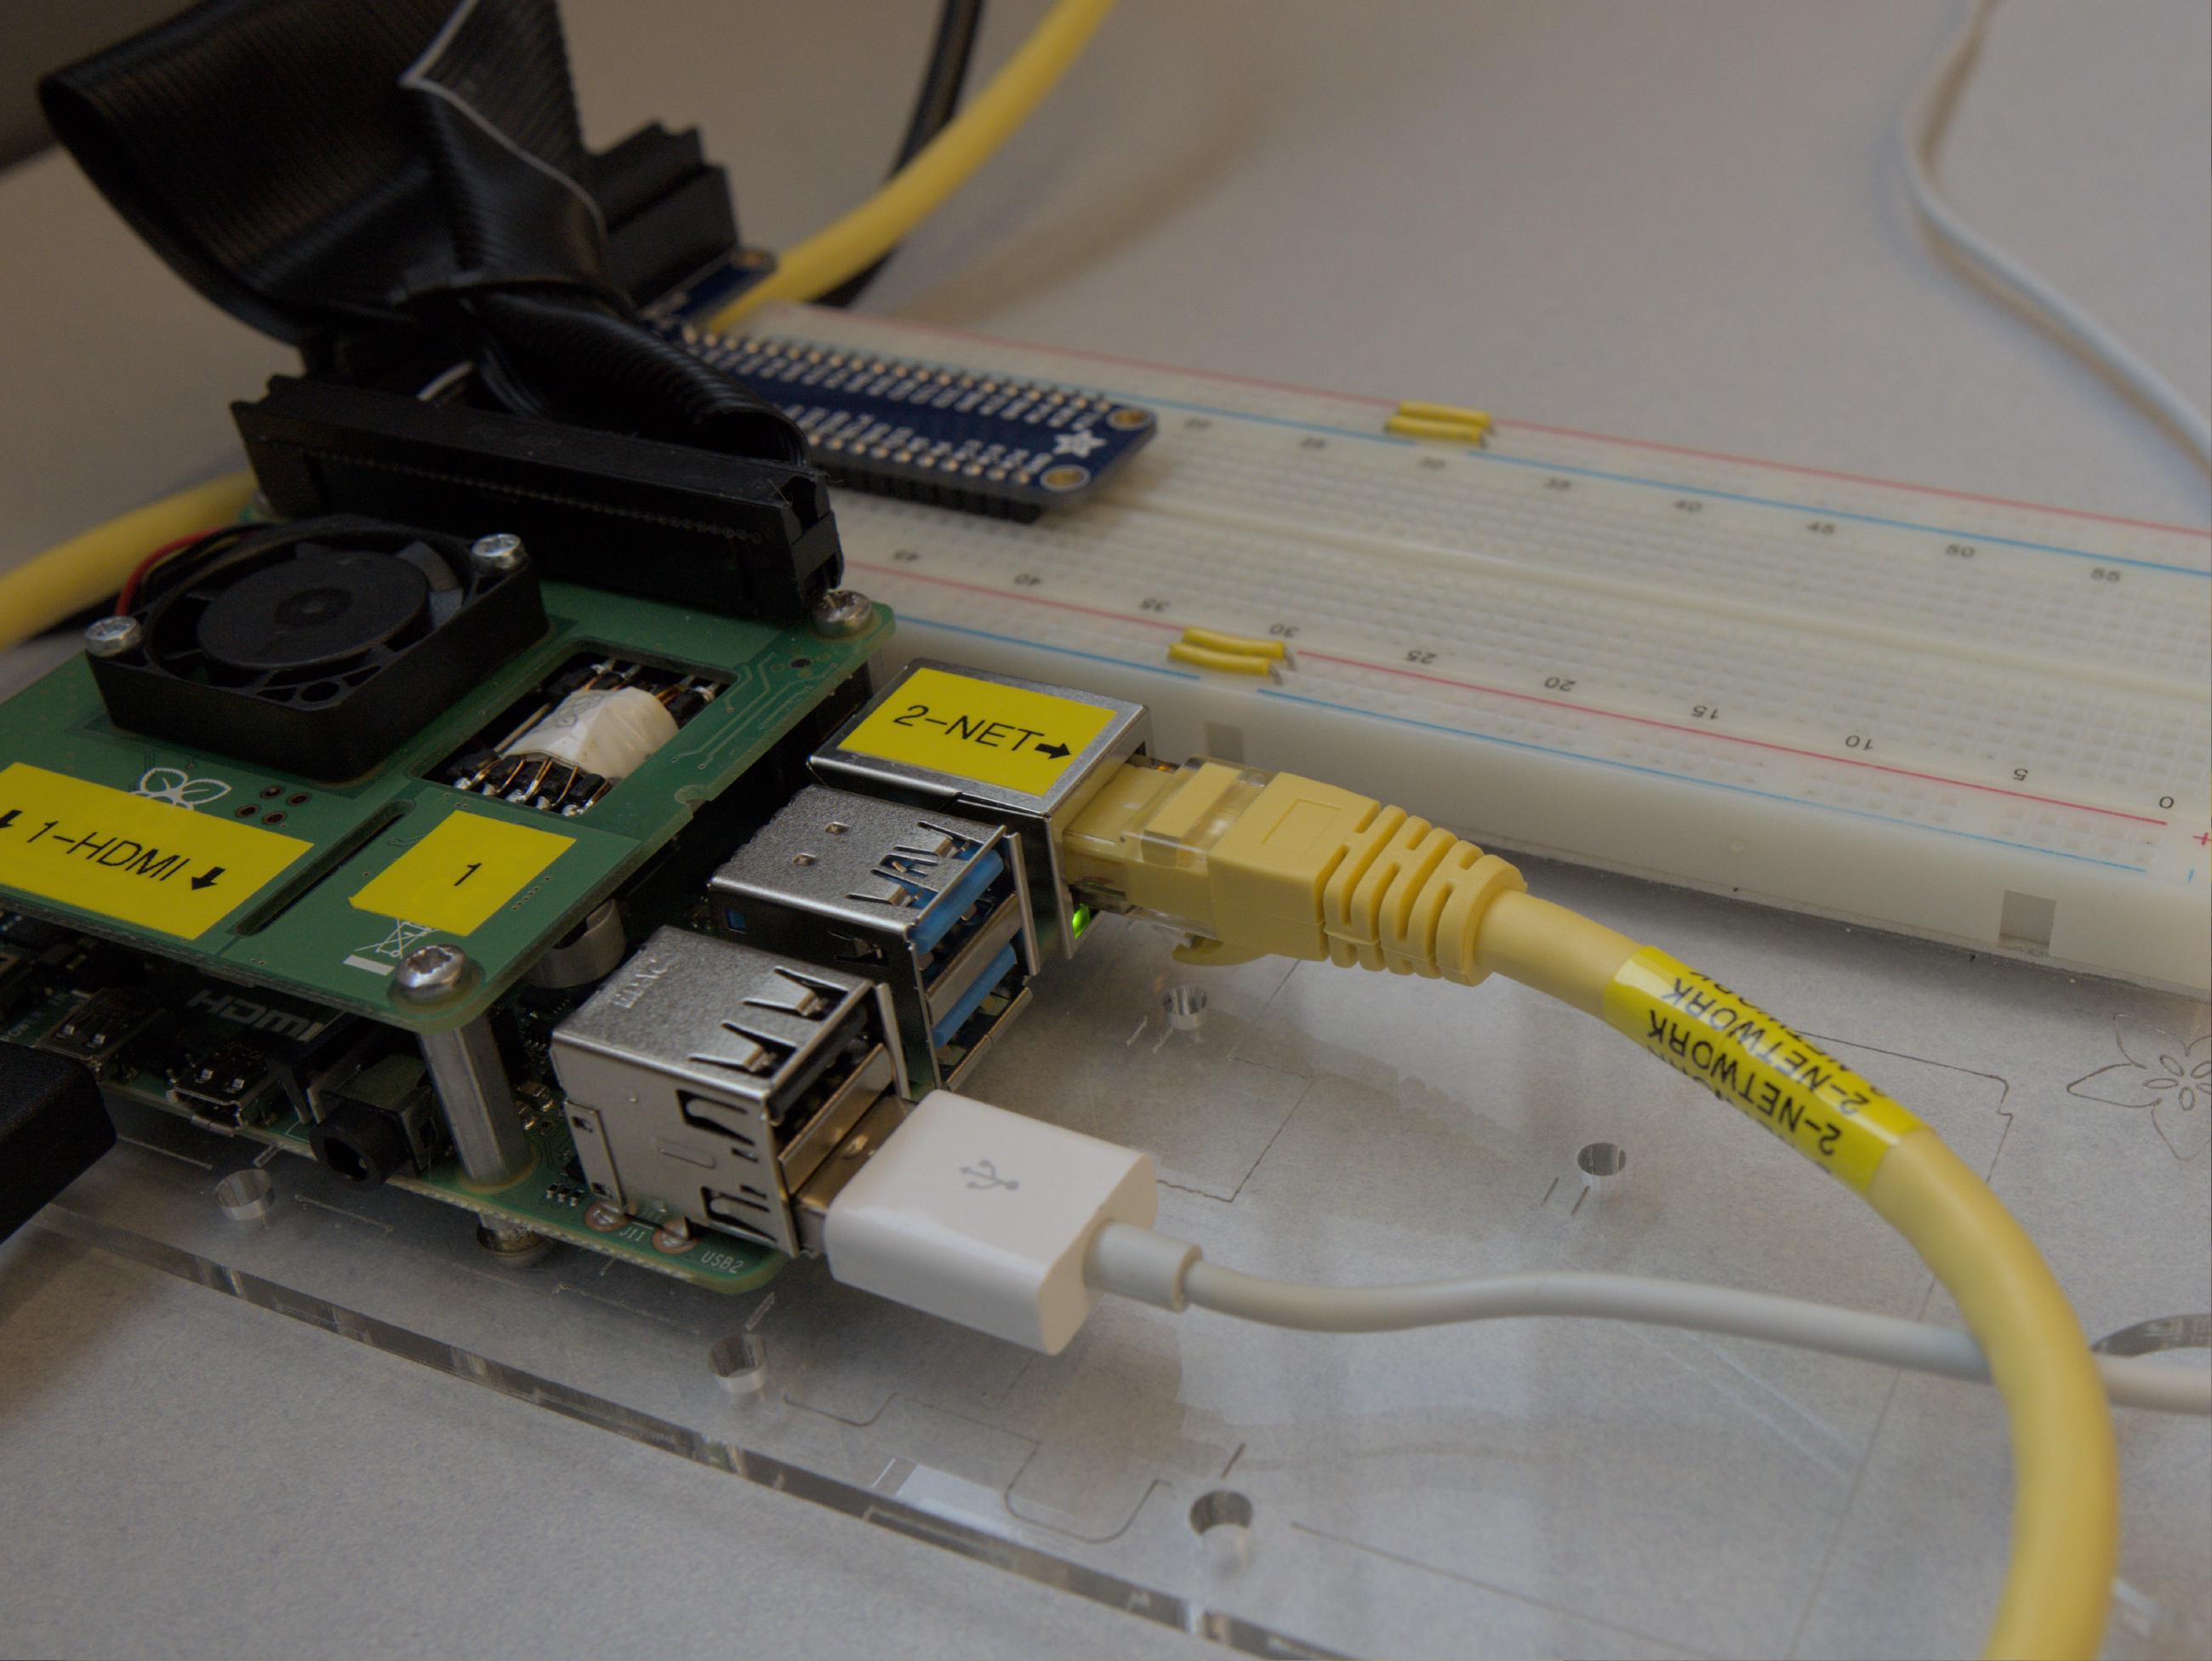
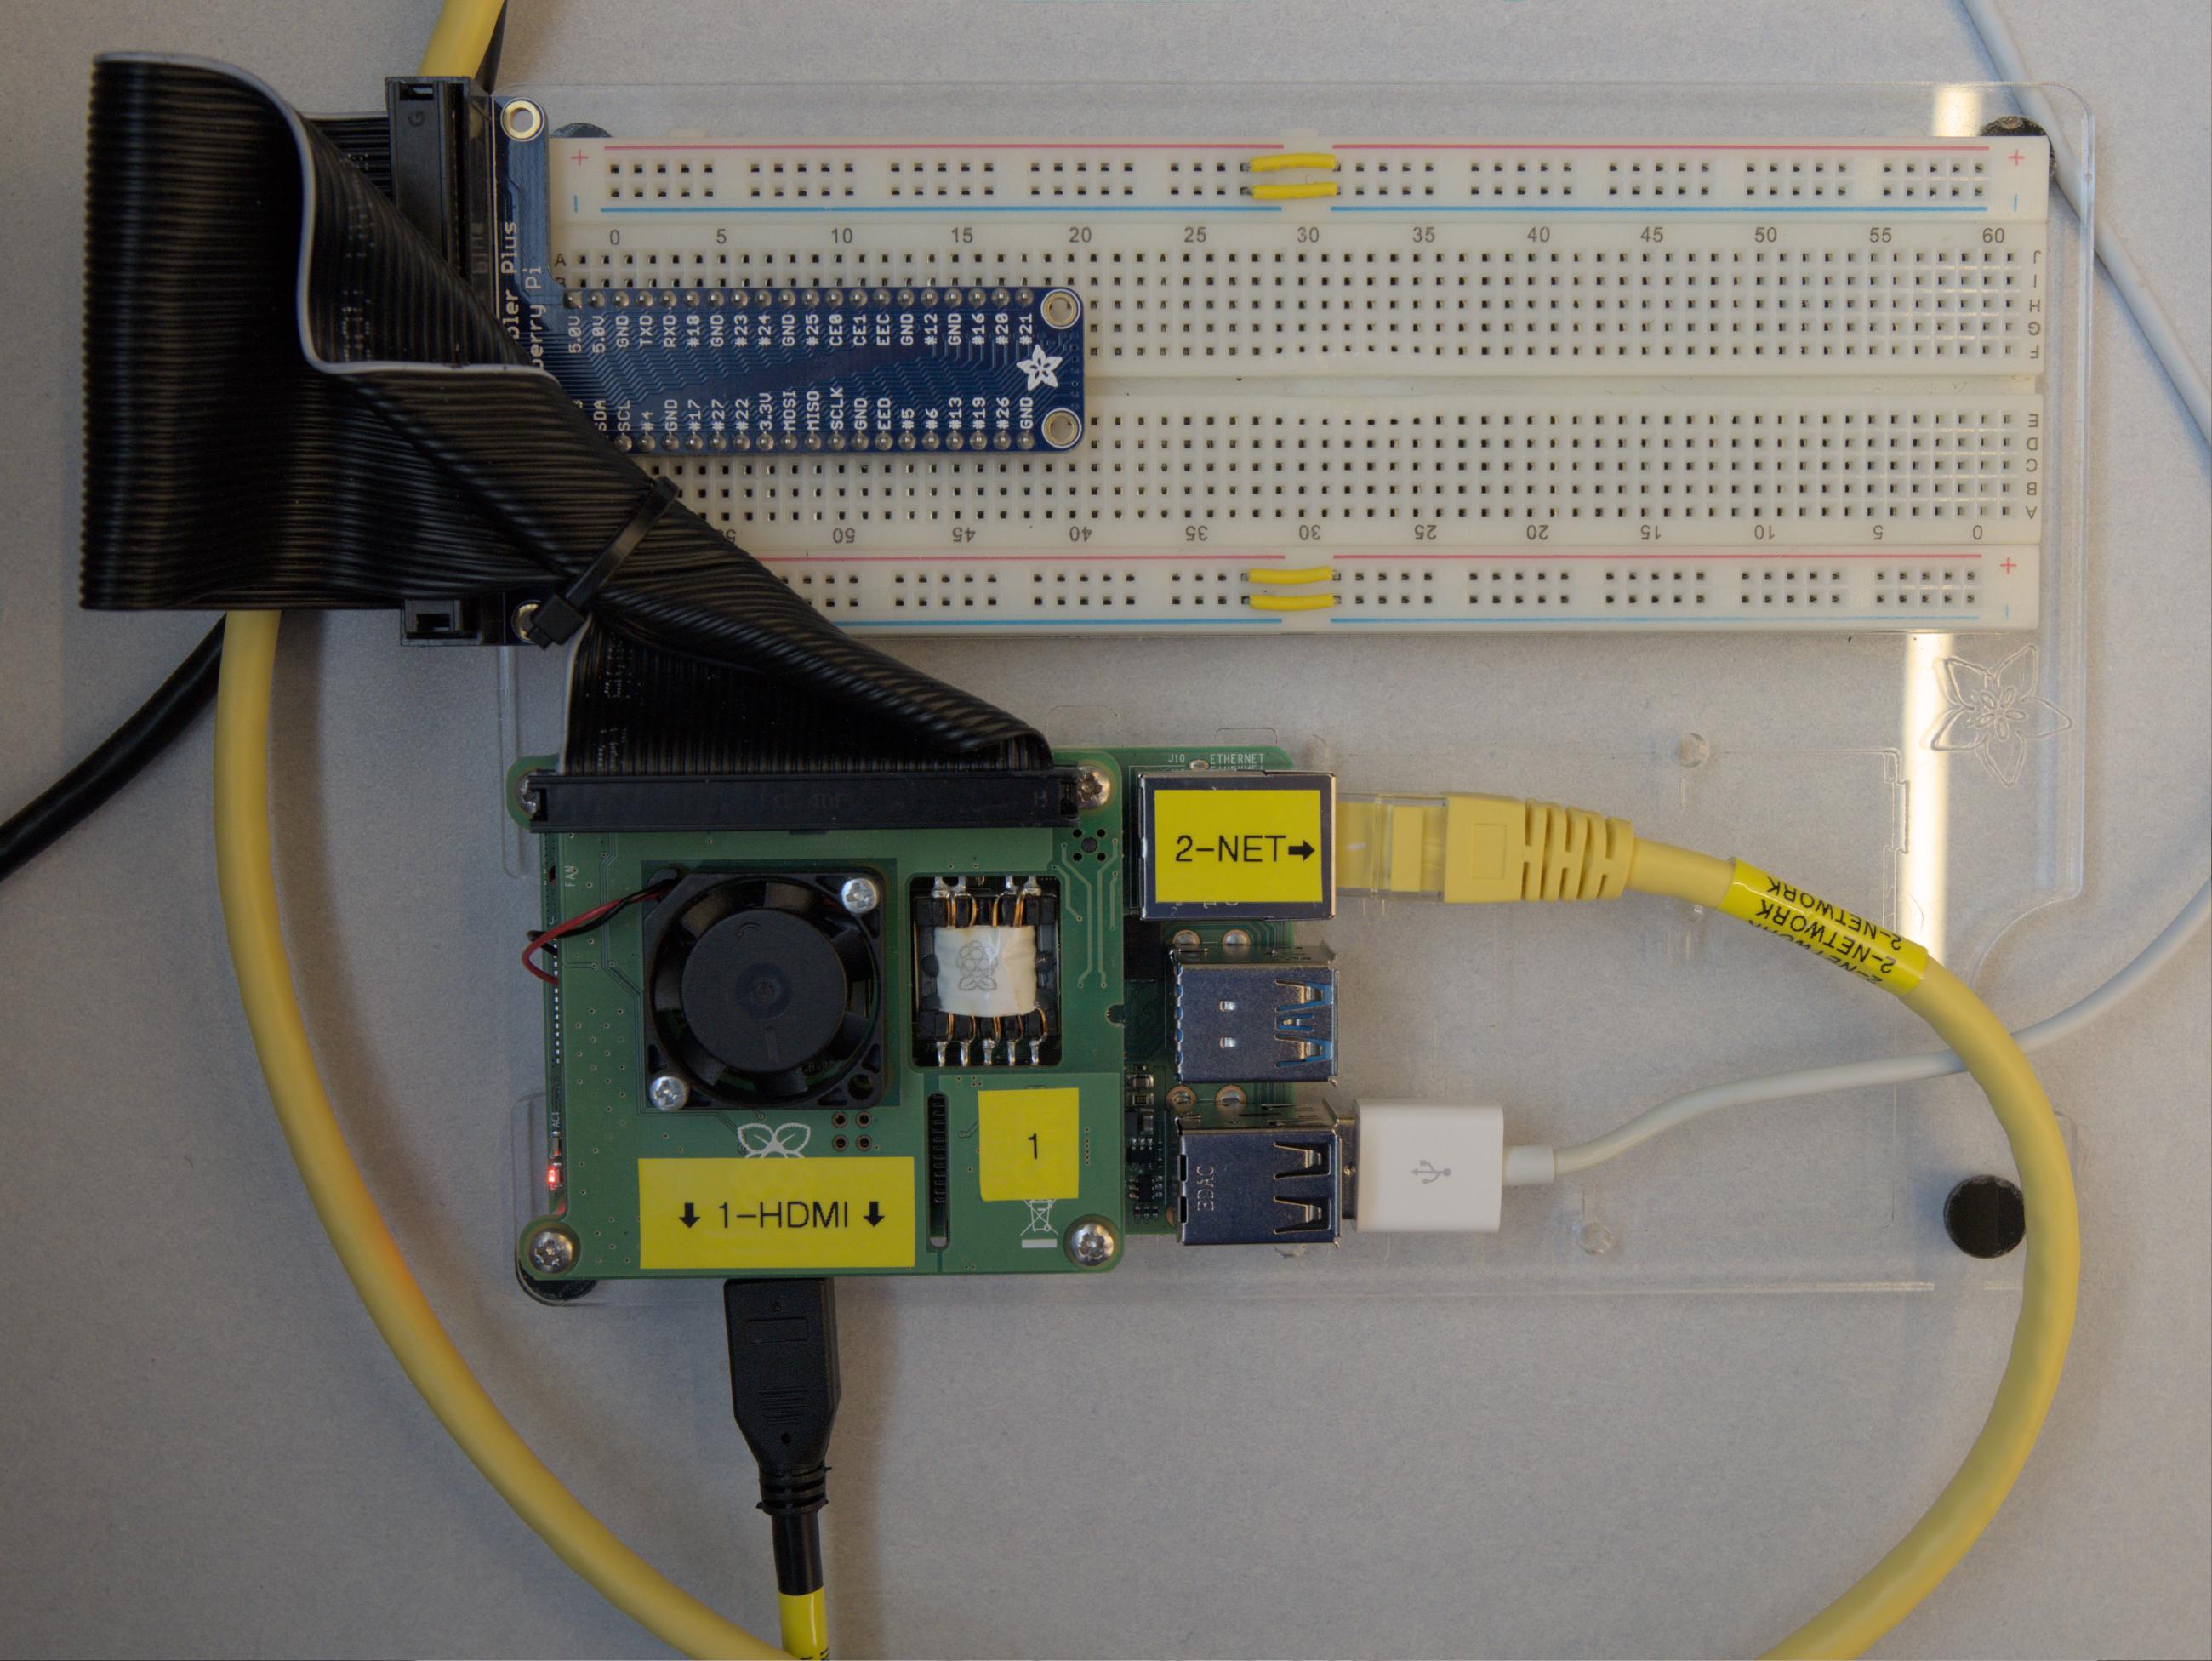
The most important component is the RPi itself. Remove it from its Mylar bag and set it down carefully on a flat surface. Note that it has been mounted onto a plastic mounting board along with a breadboard.
We will use this breadboard in future labs, but not this time. To start, we’ll need keyboard, mouse, network, and display connections. Start by plugging in a micro HDMI cable. Ensure the monitor is on.

Plug in the USB keyboard. The keyboard has a built-in USB hub; there is no need to plug the mouse directly into the Pi.

Next, plug the network cable into the RPi. The RPi is powered over the network.

After a short time (~60s), the RPi will boot to a graphical login screen. Log into the RPi with the provided format below.
e.g.
| Banner ID | Username | Password |
|---|---|---|
| 100000001 | s00000001 | 100000001_ |
| 100000002 | s00000002 | 100000002_ |
Once logged in, take a few minutes to examine some of the applications available in the start menu on the top left corner. It has the icon of Raspberry Pi.
In the start menu, navigate to Programming -> Python 3 (IDLE) to start the Python development environment.
Running Python on the Raspberry Pi
IDLE is a relatively simple IDE for Python. It doesn’t have the capabilities of Visual Studio, but it will do for our purposes. When you see:
>>>
This is the interactive Python shell. It is a place where you can enter Python code directly, and have it execute immediately. At the Python shell, type in the following (don’t type the “>>>” prompt):
>>> 2 + 9
Sometimes, this interactive mode is what you want and sometimes you want to edit a program in a file. Let’s create a program in a file. In the ‘File’ menu, choose ‘New File’ to open a text editor. In the new window that appears, type in the following test program:
print("testing 1 2 3...")
Choose ‘File’, ‘Save As’ and save this file in ~/Documents with the name basics.py. In the ‘Run’ menu, select ‘Run Module’ to run your program, and you should see the output ’testing 1 2 3…’ in the first IDLE window. Spend a few minutes familiarizing yourself with the menu in the IDLE windows. It has common text editor functionality, along with some basic programming environment features (e.g. Comment Out Region).
Python Language Introduction
In this part of the lab, we’ll experiment with some Python language features, under the assumption that you have previously written programs in C++. First of all, let’s consider variables and values. In the Python shell, type in the following:
>>> x = 8
>>> print(x)
8
>>> print(x * 2)
16
Notice that the results of the program were printed after each line? Now, type in the following code into the text editor window:
x = 8
print(x)
print(x * 2)
Save this program over your basics.py program from part 2 and run it. Notice that this program does not execute line-by-line, but executes the entire program when you run it.
Let’s add some other variables to the end of our program:
name = "Raspberry Pi"
length = 14.5
width = 7.25
Represented in our program are three different value types: integer, floating point, and string. Let’s print some values. Add the following code to the end of the program:
print("x:")
print(x)
print("Name:", name)
print("width:", end="")
print(width)
print("length:" + str(length))
Save and run the program. Notice what happened? In some cases, spaces were added automatically by print, and in other cases a newline was added. You’ll need to be careful about that if you want precise output in Python. To suppress the spaces, follow the pattern for the length above. To suppress the newline, add the extra argument on the right side, like with the following line:
print("width:", end="")
Now, let’s try out conditionals.
x = 8
if x < 10:
    print("x is small")
elif x < 20:
    print("x is medium")
else:
    print("x is large")
Try experimenting with different values for X until you understand how the conditional works.
Let’s examine a while loop now. Again, the major difference with C++ is the use of indentation to show what code is inside the loop.
x = 8
while x > 0:
    print(x)
    x = x - 1
In Python, for loops work using lists so let’s examine those in more detail before we learn the for loop syntax. A list is merely a collection of elements of the same type surrounded by square brackets (e.g. [1, 2, 3, 4, 5]). We can loop over any list:
names = ["Bob", "Sally", "Kunal", "Ahmed", "Carla"]
for name in names:
    print(name)
There is a function range() that can generate a list, that is very useful in for loops. You can pass 3 values to range: the minimum, the maximum, and the step size, and range() will generate a list that starts at the minimum value (default 0), proceeds to the next by adding the step size (default 1), until the maximum value is reached. The maximum value is not included in the resulting list. Try out range() a bit in the Python shell:
>>> list(range(10))
>>> list(range(5, 10))
>>> list(range(5, 15, 2))
We are finally ready to use a familiar form of for loop:
for val in range(0, 20):
    print(val)
There is a lot more to Python, but this should be enough to get us through these labs.

